This page shows how I put together a simple "steady-cam" camera mount. It works by giving you a large, heavy structure to hold your video camera. With the weight and balance, it won't shake around like when you're just trying to hold it steady yourself.
The camera can be mounted at the top or bottom. At the top, you get nice steady images and can move around with much less shakiness than trying to hold the camera yourself. With the camera on the bottom, you can skim a few inches above the ground and get shots that you just can't take otherwise.
Of course, it's a lot heavier than the camera, so you won't want to carry it around all day, but practice a bit with it and you'll soon be taking much nicer shots. The idea and original plans are from Make magazine.
The first video I made with it can be viewed on YouTube
First, I started with the following parts:
Item Type 18" long pipe section, threaded on each end 1/2" galvanized pipe
12" long pipe sections, threaded on each end 1/2" galvanized pipe
T fitting 1/2" galvanized pipe
end caps 1/2" galvanized pipe
1" long bolts 1/4" size - make certain this fits your camcorder mounting hole 1 1/2" long bolt 1/4" size wing nuts 1/4" size split washers 1/4" size fender washers fits on bolts easily washers used as spacers with extra nut extra nut large enough to slide on the bolt about 18" of 1" wide, 1/8" think aluminum bar. Exact size isn't important, but you have to bend it and it must support the camera. weight for bottom Disk for a barbell or similar. Should be about the same weight as the camera.
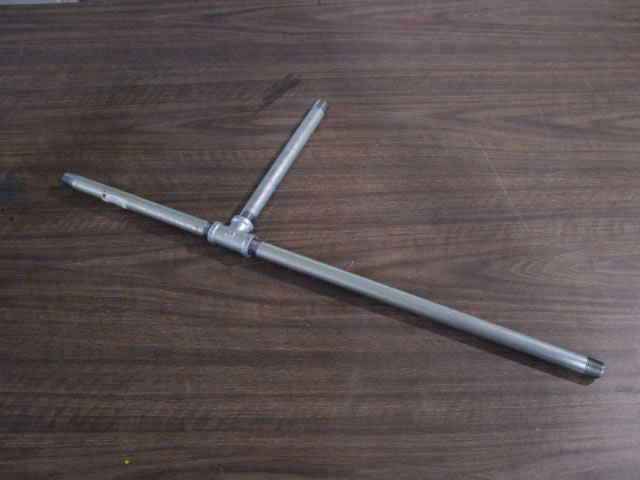
Fit the pipe sections and T fitting together like this:
Get them nice and snug.
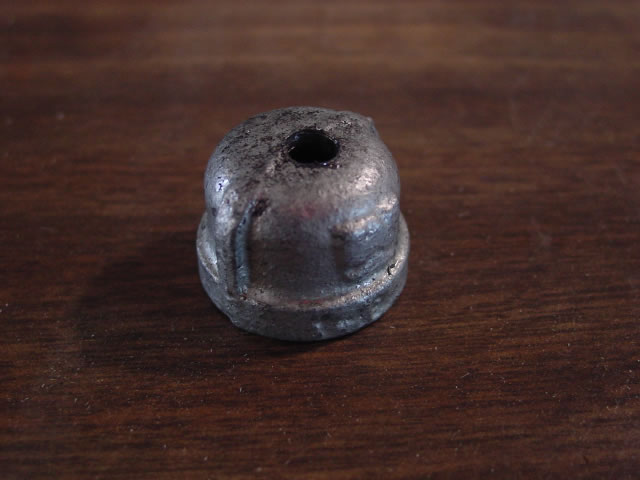
Next, get a drill that will make a hole slightly larger than the 1/4" hardware. Use a punch to mark the center, then drill a hole in two of the end caps. You'll need to hold the caps in a vise and use a good strong drill. Run it slow and add some oil to help lubricate and keep the temp down. Always use eye protection when drilling like this, and clean up the metal dust and sharp chips before you start poking them into soft things.
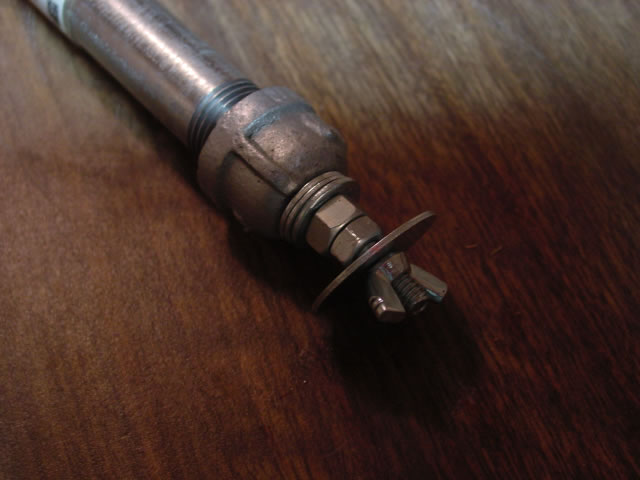
Put a 1 1/2" bolt and split washer on one cap, then bolt it tight with a nut from the outside. I added a few washers and a larger nuts that slipped over the bolt because it wasn't threaded all the way down. You want enough bolt above the nut so that it can screw into the camera and still leave enough space for the wing nut to turn and tighten against the camera and washer.
This picture is without the camera mounted - to attach the camera, remove the wing nut and fender washer, then put the wing nut on the bolt upside down with the fender washer on top. The bolt screws into the camera, and you can tighten the wing nut against the camera with it pointing in the direction you want.
On the bottom, I attached two weight collars from an old hand-barbell set. They slipped on the pipe above the end cap. These two weigh about the same amount as the camera. You can experiment with more or less weight to see how you like the balance and feel.
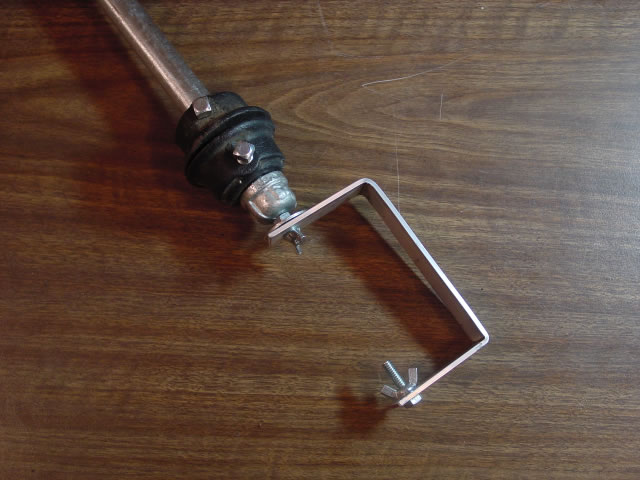
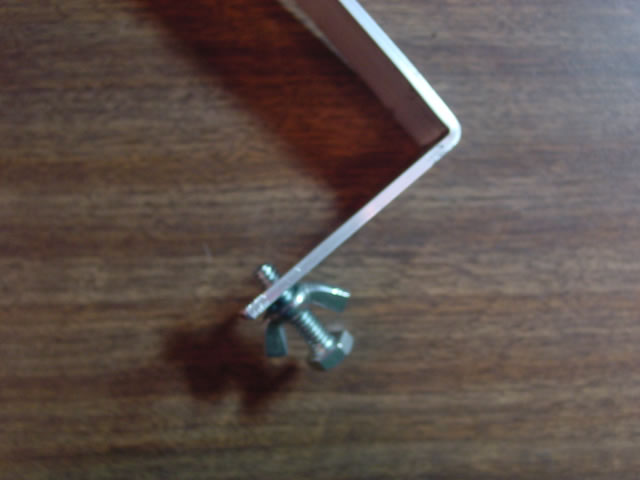
I added a bracket at the bottom to allow the camera to be mounted low. This allows the camera to be moved close to the floor, running a few inches above the ground.
It was made from 1" wide aluminum bar purchased from the hardware store. I measured so that it would fit around the camcorder, bent it in a vise, and trimmed to length with a hacksaw (in that order). Make certain it will fit around the correct side of the camcorder and not obstruct any crucial buttons or view screens, and be tall enough for the camera and a few extra inches for the mounting hardware. I then drilled two holes - first one to mount to the camera, then another to mount to an end cap exactly on the other side of the bracket.
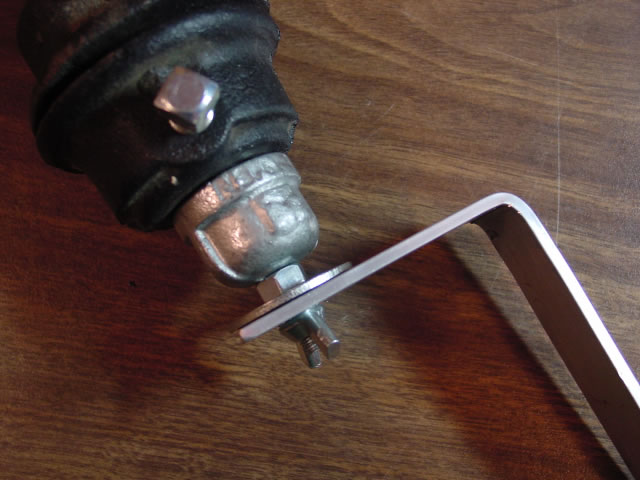
The hardware consists of a 1" bolt with split washer on the inside of the end cap, with another nut outside holding it tight. A fender washer goes between the outside nut and bracket, with a wing nut holding the bracket tight. This allows the bracket to be swiveled, pointing the camera in the desired direction before tightening down the wing nut.
Finally, on the bottom to hold the camera is a 1" bolt and wing nut. The camera is screwed on here, with the wing nut tightening it down.
You may want to cover the pipe with tape or bicycle handlebar wrap to make the grip nice. Play with it a bit and you'll soon be taking cleaner shots.
Write me an email at dave at zievid.com if you have any feedback.